

Manager Portal
The Manager Portal allows you to invite your team members to join uptip, create teams with different tipping models, and distribute the pooled tips accordingly.
01
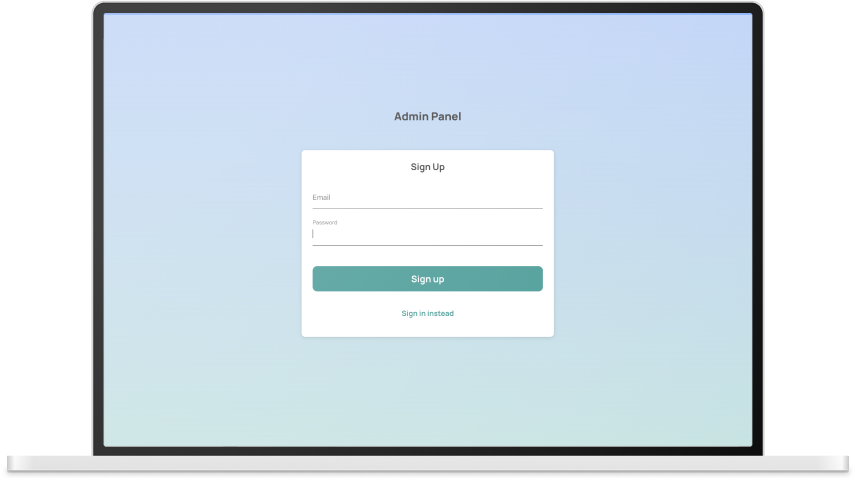
Join the Manager Portal
Our team members will send you an email invitation to become a Manager at the Branch you work.
Sign up to the Manager Portal at admin.uptip.co with the same email you have been invited to.
02
Main structure
The Manager Portal allows organizations to manage multiple Branches. Within your Portal you will be able to see the Branches you are part of and the Teams within the Branches.
Organisation:
Refers to the overall company umbrella.Branch:
Often relates to specific property, for example a Hotel that might belong to a larger corporate group.Teams:
They exist within the Branches and define the tipping parameters.
03
Create a Team
To create a Team select the Branch first, and click on 'Create Team'.
Give your Team a name and add the Team ID or Lot Number used in your company's internal system.
Choose the Tipping Model that best fits your Team.
When choosing one of the Tip Pooling options, you are required to fill in the 'Shift Configuration'. This step is key, as Pools are distributed according to the shifts configured here.
As part of the Tip Pooling options you can assign a Generic Tipping QR Code for your Team. This means that all Team Members will use the same QR Code to collect tips. If you choose to have a Generic QR Code for your Team, add a team name, role and team photo for the profile that guests will see when scanning the generic QR code.
04
Onboarding New Team Members
New Team Members will first need to register to uptip using the web app app.uptip.co, or they may download the uptip app on android or iOS. Once they sign up, they can press the ‘Add’ button on the Home Screen and scan the Onboarding QR Code of your Branch.
You will find the ‘Onboarding QR Code’ in the ‘Branches’ overview. Within the ‘Branch’ cards you will see the button ‘View Onboarding QR’. Click on it and share this QR Code with New Team Members.
Team Members can scan the physical QR code on the onboarding poster.
Once the New Team Members scan the QR Code, you will receive a notification in the Manager Portal. Please accept or decline the New Team Member’s petition to join the Branch.
05
Manage Members within a Branch
Click on the ‘Settings Icon’ on The Branch Card to access your Branch Setting and Branch Members.
Invite a Team Member to a Branch via email:
Alternatively, click on 'Branch Members’ and click on the button ‘Add members to a branch’. Insert the email of the invitee here.
Branch Member Internal ID:
Within the tab Branch Member you will be able to see the list of members in your branch. Make sure you fill in all the Internal IDs in order to be able to execute the tip distribution and add members to a Team.
06
Add Team Members to a Team
Your Branch has now a pool of members that can be assigned to any teams within your Branch. To assign a Member to a team follow these steps.
Access the Team you want to add Team Members.
Select a Branch, select a Team and click on the tab ‘Team Members’.
Click on the button ‘Add members to teams’
Within the ‘Branch members’ window, select the team Members you want to add to the team, and assign a Job Role rom the drop down menu.
To finalize this step, click on the button ‘Invite new members’ at the bottom of the list.
You can always remove team Members by clicking on the button ‘ Remove members from team’.